What we did:
We were initially concerned that there could be an insect infestation, as the planks did in places show marks similar to those made by wood-eating bugs. However we were reassured to find that this was was very old damage (almost certainly dating back to when the pine boards were fresh) and these marks were all completely removed by sanding.
Get rid of protruding nails
Our first task was to hammer the nails down, one by one, using a special tool small enough to dig the nail in deeper without damaging the floor. We then filled what small holes and dents were left, leaving little – if any – signs of the nails at all, and certainly no risk of injury to bare feet.
Fill gaps between planks
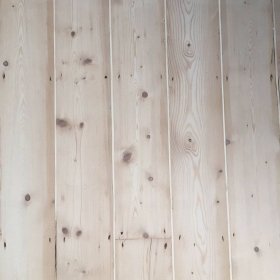
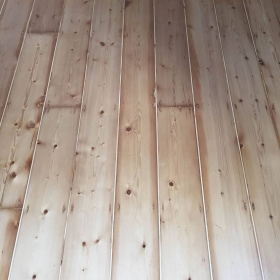
There were some gaps between the planks, so we took some spare pine floor boards from our showroom and cut these down into 4mm widths (or less) which were edged with PVA glue before being carefully and gently hammered in to fill the the gaps.
The custom-made fillers not only made the floor more sound-proof, they also stopped drafts coming into the rooms from under the boards.
Sanding
The next job was to sand the excess wood off the top of these fillers, and then level out the whole floor. We had to use used a fairly rough grade of sanding paper to do this because of the generally uneven state of the floor.
Finishing
Finally, we applied hard wax oil to seal the floor.
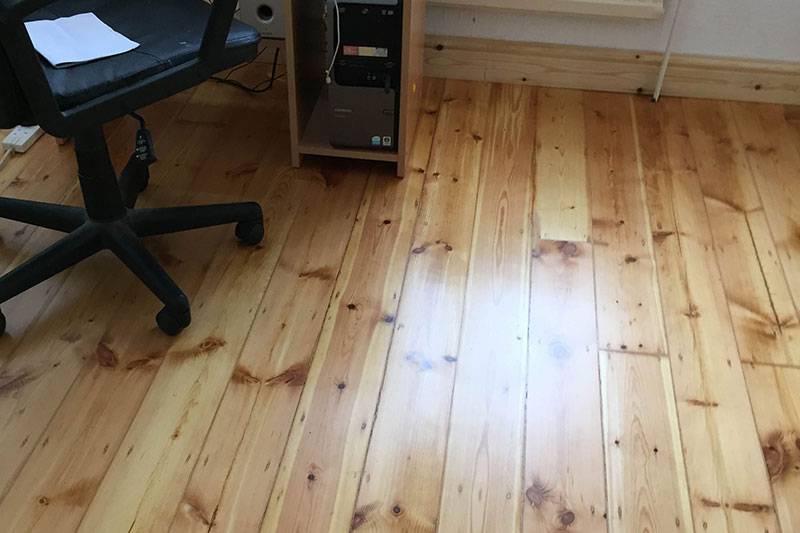
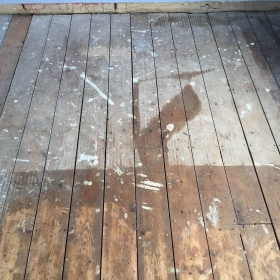
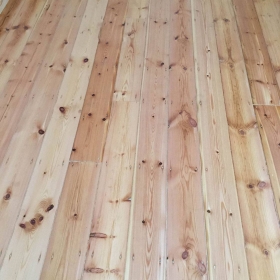
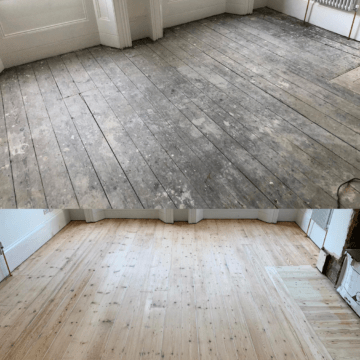
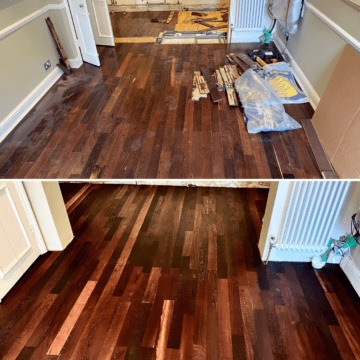
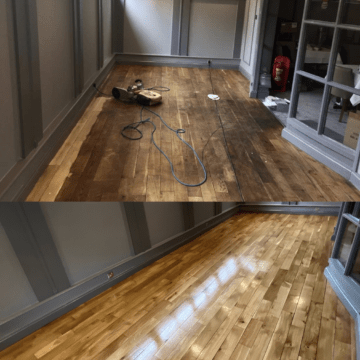
As you can see, the result was markedly different. In fact, the owner was so pleased with our work on the hallways and two downstairs rooms that we were then asked to sand the stairs of the property and apply hard wax oil there too to match.
Total time and people involved:
It took two people five days to complete this project.
RELATED RESTORATIONS

